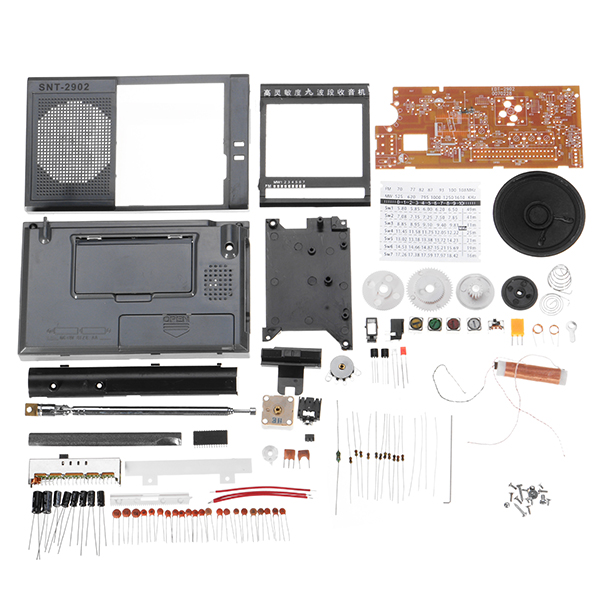
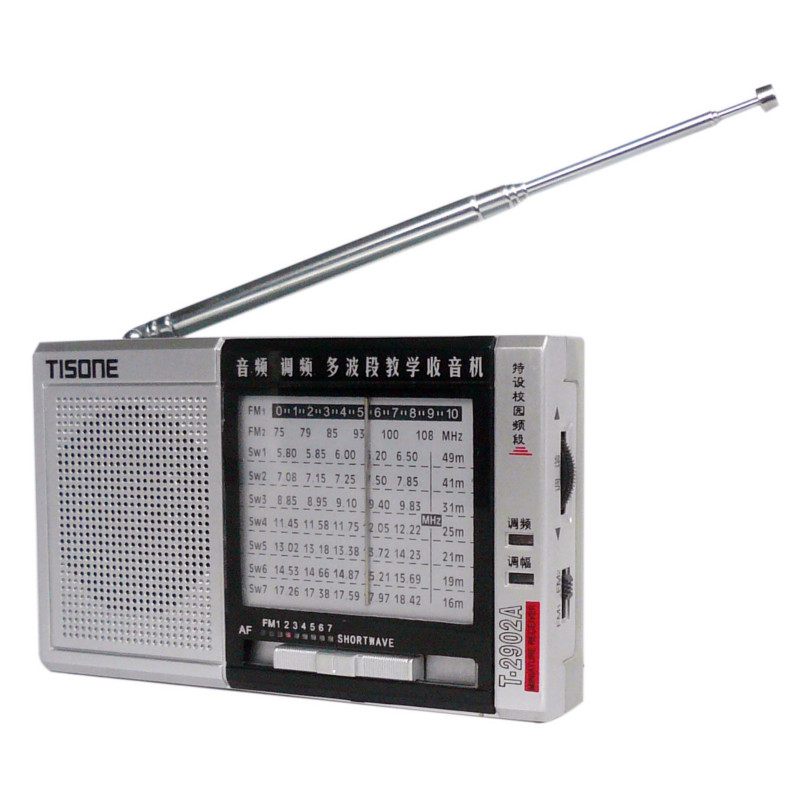
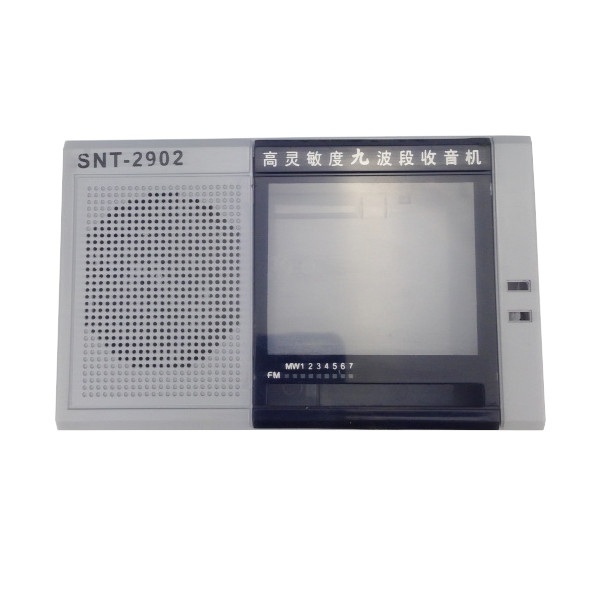
1) FM band debugging: Turn the switch to ON, the band selector switch to FM, D1 LED light.
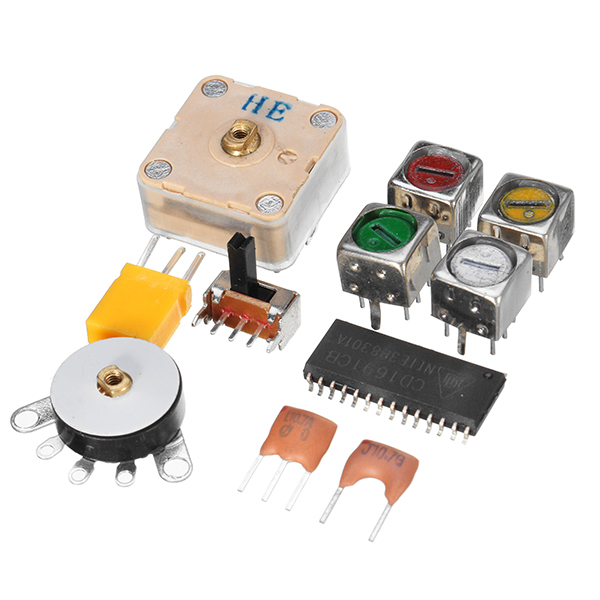
The first step: adjust the receive frequency range, the quadruple variable capacitor is adjusted to the lowest, then display FM frequency, with a tool to adjust the L103 oscillation coil so that the figure shows about 69MHZ, the quadruple variable capacitor adjust to frequency display the most high-end, with the tool to adjust the capacitor so that the display frequency at 108.5MHZ or so, repeatedly adjusted to make the FM frequency range 69-108.5MHZ.
The second step: adjust the sensitivity, adjust the variable capacitor to about 80MHZ received a radio to adjust the L102 coil so that the speaker output maximum sound, then adjust the quadruple adjustable capacitor to about 106MHZ received a radio station, adjust the quadruple variable capacitor Trim frequency selection circuit capacitor so that the speaker output maximum, repeated the above adjustments to achieve the best sensitivity results.
2) Debugging the mid-wave band:
The first step: adjust the receiving frequency range, the band selector switch to MW, D2 LED light. Adjust the quadruple variable capacitor to the lowest end, and the display on the test stand shows the frequency of the middle wave. Use a tool to adjust the T101 oscillation week so that the figure is displayed at about 515KHZ. Adjust the quadruple variable capacitor to the highest frequency display, AM trimming capacitor to make the frequency around 1640KHZ, repeated adjustments to make the frequency in the 515-1640KHZ range.
The second step: adjust the sensitivity of the variable capacitor to about 600KHZ received a radio AM so that the speaker output maximum sound, then adjust the quadruple adjustable capacitor to about 1400KHZ received a radio, adjust the trimming capacitor to make the speaker output the maximum sound, repeatedly the above debugging sensitivity to achieve the best results.
3) Short-band debugging: shortwave with a high-frequency amplifier circuit without adjusting the sensitivity, as long as the adjustment of frequency.
Frequency adjustment: need to adjust the mid-wave and then push the switch to the SW1, quadruple variable capacitance transferred to the lowest end, tune T102 (green) shortwave, showing the frequency range of 5.7MHZ, shortwave 1-4 automatic Synchronize. Then push the switch to SW7 position, adjust T102 (white) shortwave frequency so that the frequency is displayed at about 18.5MHZ, shortwave 5-7 automatic synchronization.
4) Amplitude modulation midrange T104 adjustment: Find a strong signal shortwave radio, adjust T104 (yellow) so that the speaker output maximum and the most clear.
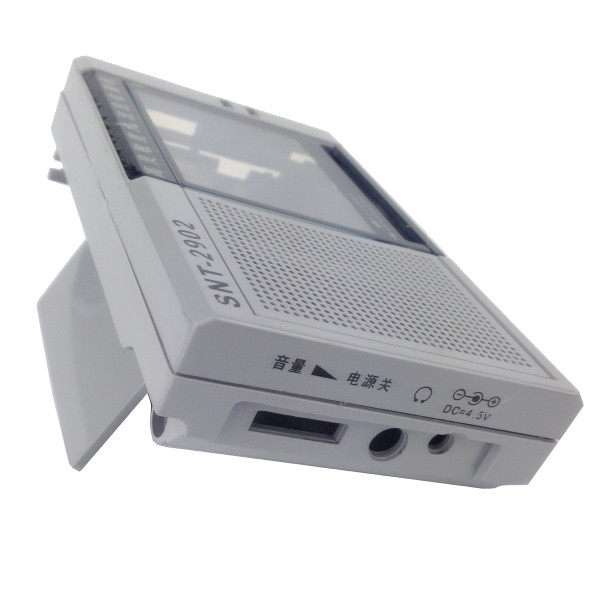
5) Complete the commissioning, push the power switch to OFF to turn off the power and install the housing.